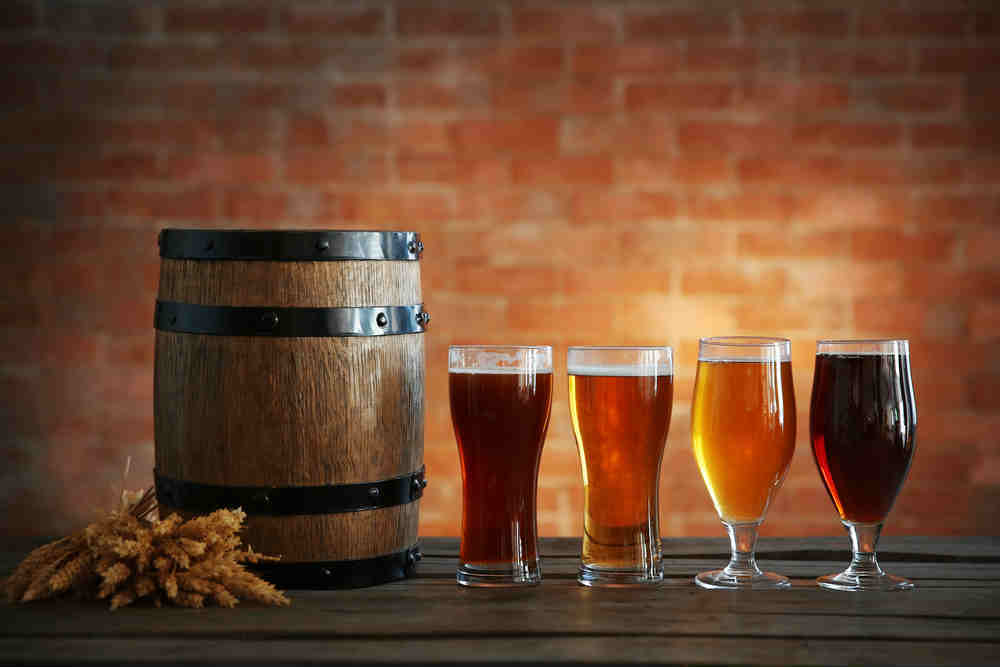
Home brewing beer is an increasingly popular past-time. From red ales to lagers to porters, brewing your own beer is more than a tasty trend as home brewers learn new ways to blend ingredients, alter alcohol content, and most importantly, improve flavor for some of the most delicious beers around.
Are you contemplating a leap into home-brewing? Have you just not found that perfect lager for this summer’s barbecue season? Looking to enter a local microbrew contest and hoping to piece together that just-right blend? Why not experiment with a few of these tips to get started or improve on your developing skills.
The Recipe
- Research! You may already be an expert taste-tester but it helps to brush up on the beer brewing process.
- There is a good amount of science involved with brewing beer so learn the science behind the process to make a tastier product.
- Seek out a recipe book – or books! – to find the perfect combination for you.
- Make sure you understand the recipe before brewing – especially when to add ingredients, total boil time, and fermentation times.
- Experiment with a variety of recipes. Even if you are a straight porter lover, why not branch out to a few stouts or brown ales?
- Tweak recipes to your preferences. If a particular brew is too hoppy, try it again with fewer hops.
- Sticky notes are your friends! Getting creative with a recipe? Use sticky notes to document your adjustments until you make it just right then add the permanent notes to your log book.
- Explore alternative options – how about hazelnuts in your porter or chili powder in your stout?
The Preparation and Tools
- Sanitize everything that will come in contact with the beer.
- Use no-rinse sanitizer, we love Star San.
- It may seem crazy, but vodka makes a fantastic sanitizer.
- Glass or stainless fermenters are superior to plastic buckets. They are not only easier to clean and sterilize, they offer a 100% oxygen barrier and better seals at the top of the bucket.
- While you may start off with a kit, once you decide you enjoy brewing it is worth investing in the higher quality items instead of graduating slowly.
- An immersion wort chiller can be a beneficial investment – and they are relatively inexpensive.
- A good hydrometer is necessary for testing the fermentation level of your beer, make sure you’ve got a good one.
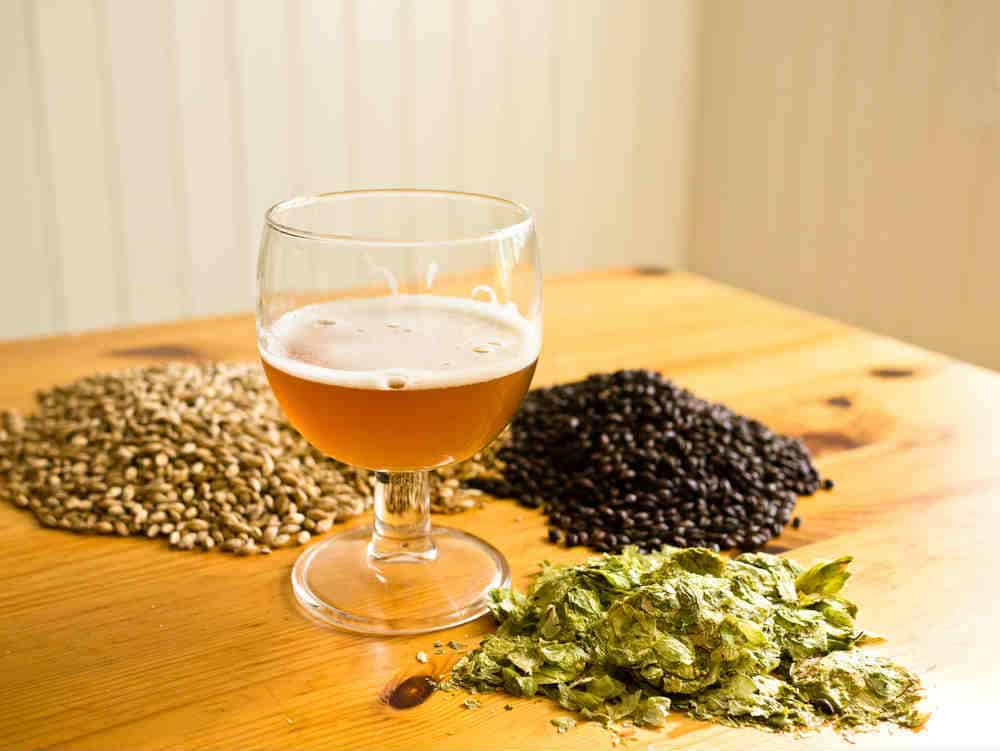
The Ingredients
- Use the freshest possible ingredients to improve the quality – and flavor – of your beer.
- Grow your own hops! With the increasing appeal of urban and suburban gardening options, growing your own hops is becoming a viable option.
- Use liquid yeast in lieu of dry yeast.
- Make a Yeast Starter to help your beer ferment. Two to three days before brewing, boil a small amount of dried malt extract and ¼ ounce of hops in a quart of water, allow it to cool then add your yeast. Cover with foil or an airlock and store in a cool dark place.
- Be certain to use quality water – reverse osmosis or good spring water are your best bets.
- If you aren’t brewing immediately upon buying be sure to store your ingredients properly – malt and yeast in the refrigerator and hops in the freezer.
- Different types of malts can change the flavor of your beer – experiment with them!
- Experiment with different kinds of hops to adjust the bitterness of your beer.
- Fruits – like watermelons and apples – can enhance the flavor.
- Seasonings – we like nutmeg and ginger – add a little zip to your brew.
The Process
- Pay close attention to your recipe – especially any modifications that are noted.
- Add your ingredients in the right order. It sounds silly but not doing so can lead to disaster.
- Steep your grains at the proper temperatures.
- Do not add malts until after the grains have been removed.
- Add hops as recommended in the recipe.
- Boil your wort (the liquid extracted from the mashing process during the brewing of beer) for 60-90 minutes – the longer the boil, the lighter the beer.
- Be sure to keep stirring so your ingredients don’t boil over – you don’t want to lose anything!
- Control your heat – you don’t want to burn your wort!
- Cool wort quickly to increase the fallout of proteins and tannins that ruin the beer.
- Add yeast after your wort is cooled and stir thoroughly.
- Use airlock to release gases and keep air out.
- Store beer in a dark room at around 70 degrees.
- Leave beer set for the appropriate amount of time according to your recipe.
- If dry hopping, make sure you let the beer sit for a week before adding the hops.
- Check beer with hydrometer at various points to monitor the beer gravity (sugar content).
- Rely more on your hydrometer than your airlock to gauge the fermentation of your beer.
- If bottling, be sure to mix in sugar for carbonation.
- Be patient with bottled beer! We know it’s hard but let it set for up to two months for the best results
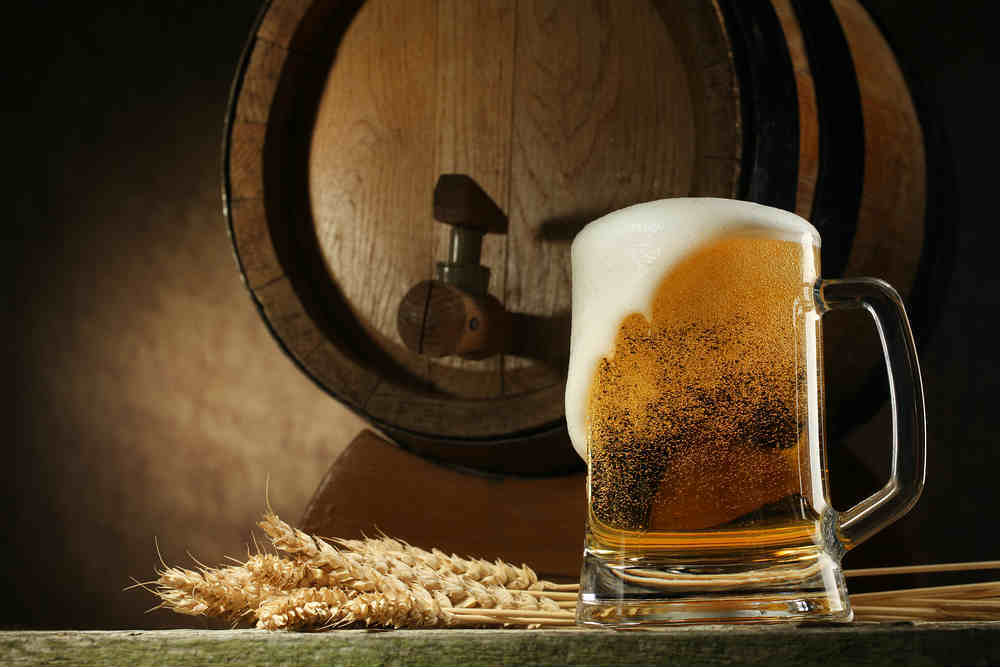
- If using a keg, transfer beer to the keg and turn CO2 on low pressure (around 10psi) for approximately a week.
- If you simply can’t wait that long to tap your keg, turn pressure to 40psi for 24 hours.
The Glorious Final Product
- We’re sure it’s difficult to recruit guinea pigs for your beer experiments but it’s important to have reliable, honest taste-testers to help you perfect your brews.
- Mix and match your brews with a variety of meals and sides to create quality pairings that would make even the best restaurants jealous.
- Enter your perfect custom concoction in local microbrew contests for a little extra feedback – and fun.
- Connect with other home-brewers to exchange recipes and tips of the trade.
- Get a little creative and add custom labels to your bottles!
Step into the world of home-brewing and create the perfect blend for you, your family, and your friends. They will love you even more when you show up at the next gathering with a delicious custom brew!